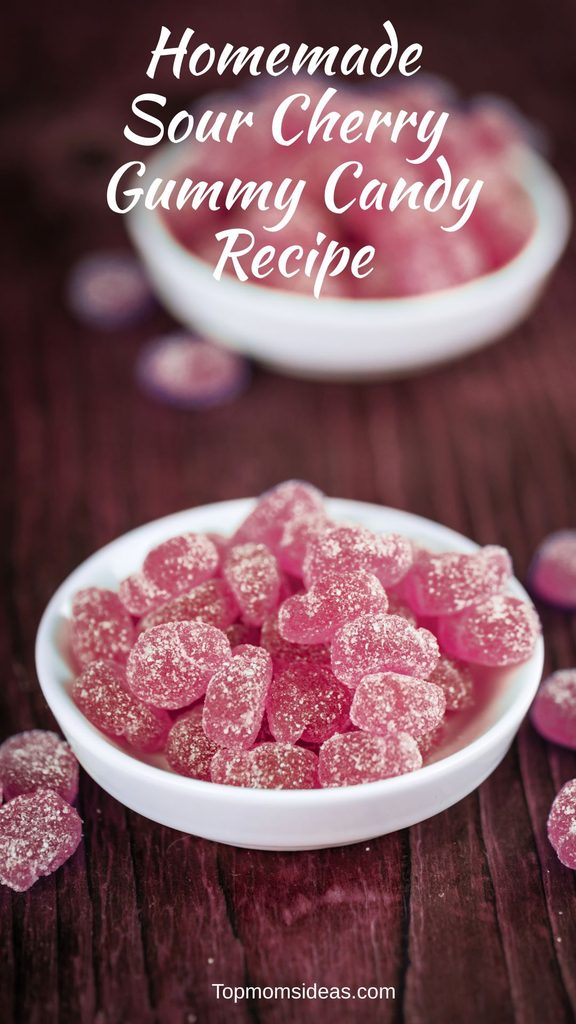
Learn how to make perfect homemade sour gummy candies using real cherry juice. Discover the baker’s secret to a crispy sour coating that never gets wet or sticky!
Why Everyone is Obsessed with Homemade Sour Gummies Right Now
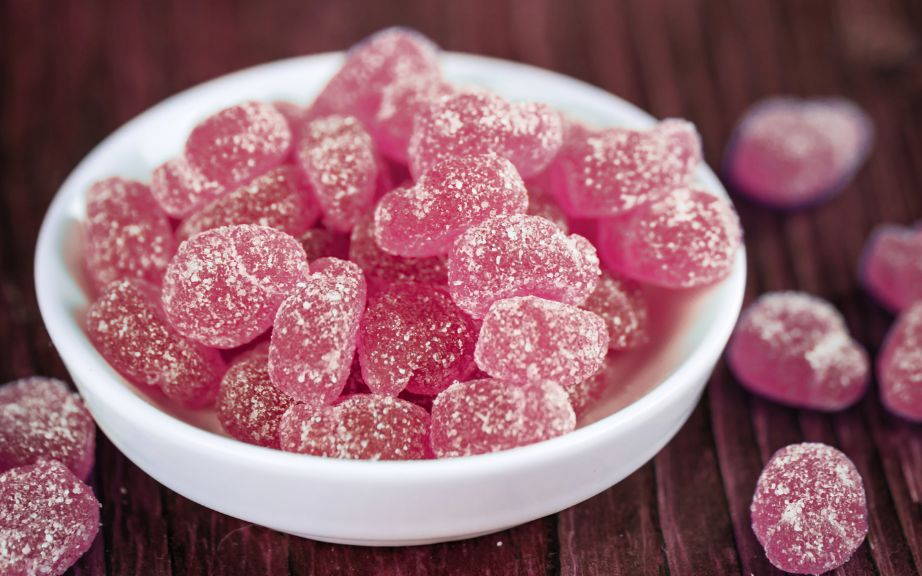
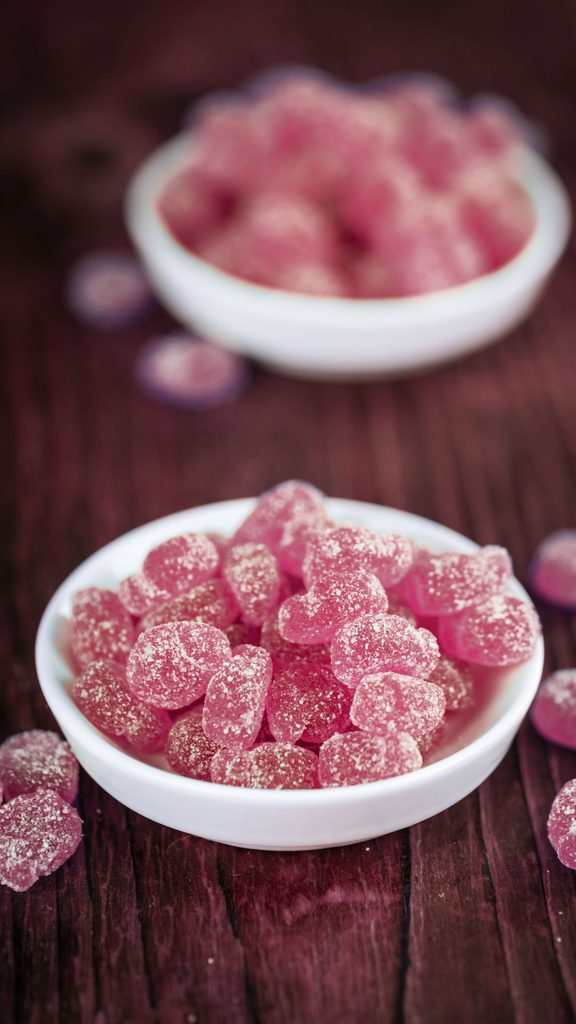
If you’ve spent even five minutes on TikTok, Instagram Reels, or Pinterest lately, you’ve definitely seen them: vibrant, ruby-red, crystal-coated sour gummy buttons cascading into aesthetic white bowls. They are the internet’s latest culinary obsession, racking up millions of views and inspiring thousands of foodies to turn their kitchens into mini candy factories.
But why has this viral trend taken over our feeds?
First, it’s the ultimate nostalgia trip. There’s something incredibly satisfying about recreating your favorite childhood candy from scratch. Second, it’s about control—buying store-bought gummies means consuming artificial dyes, corn syrup, and mysterious preservatives. Making them at home lets you use real fruit juice and cut down on unnecessary chemicals without sacrificing that addictive, chewy texture.

However, as thousands of home cooks have discovered, there is one major problem with the viral videos: most creators don’t show you what happens an hour after filming. Without the right technique, that gorgeous sugar coating quickly absorbs moisture, turning your beautiful candies into a sticky, melted mess.
Don’t worry—we’ve cracked the code. Read on to discover the ultimate recipe for sour cherry gummies that look straight out of a professional candy boutique and stay perfectly dry, matte, and sour for days!
Ingredients to Make Homemade Sour Cherry Gummy Candy Recipe
For the perfect vibrant color and chewy texture, you will need a few simple ingredients and a silicone candy mold (preferably with small round cavities, drops, or half-spheres):
- Tart cherry juice
- Unflavored gelatin powder
- Granulated sugar
- Fresh lemon juice
For the Crystal Sour Coating (Sour Mix):
- Fine granulated sugar
- Citric acid powder
- Cornstarch
How to Make Homemade Sour Cherry Gummy Candy Recipe
Bloom the Gelatin
Pour the cold cherry juice into a small, heavy-bottomed saucepan. Evenly sprinkle the gelatin powder over the top of the juice. Give it a gentle stir and let it sit at room temperature for 10 minutes to bloom and absorb the liquid.
Dissolve the Mixture
Add the sugar and fresh lemon juice to the saucepan with the bloomed gelatin. Place the pan over the lowest heat possible. Stir continuously with a whisk or silicone spatula to break up any lumps.
Important: Do not let the mixture boil! The ideal temperature is around 60-70°C (140-158°F). As soon as the sugar and gelatin crystals are completely dissolved and the liquid looks smooth, glossy, and clear, remove the saucepan from the heat.
Fill the Molds
Let the mixture sit on the counter for 2-3 minutes so any surface foam can settle. Using a confectionery dropper (pipette) or a small measuring pitcher, carefully pour the warm cherry liquid into the cavities of your silicone mold. Transfer the mold to the refrigerator for 1.5 to 2 hours until fully set.
The Air-Drying Phase (The Most Important Step!)
Pop the set cherry gummies out of the silicone mold. Lay them out on a sheet of parchment paper, making sure they do not touch each other. Leave the gummies at room temperature for 3 to 4 hours (or overnight). During this time, excess moisture from the surface evaporates. This makes the candy denser, chewier, and prevents it from absorbing the sugar later.
Coat and Finish
In a small, dry bowl, thoroughly mix the fine sugar, citric acid, and cornstarch. The cornstarch acts as a moisture barrier, keeping the sugar crystals from melting upon contact with the gelatin.
Toss the air-dried gummies into the sour mix in small batches, coating them completely. Transfer the finished candies to a fine-mesh strainer and shake gently to remove any excess powder.
Baker’s Tips for Success
- Choose the Right Gelatin. Look for high-bloom, quick-dissolving gelatin powder. Regular sheet gelatin can result in a softer texture, whereas powder gives you that authentic, store-bought chewiness.
- Play with Flavors. You can easily swap the cherry juice for cranberry, pomegranate, or blueberry juice to achieve that same stunning ruby-red.
- Storage. Store your homemade sour gummies in an airtight glass or plastic container in a cool, dry place (or the fridge) for up to 7 days.
Frequently Asked Questions
- Can I use a sugar substitute?
Yes, you can substitute the sugar inside the gummy mixture with stevia or erythritol. However, for the external sour coating, real fine granulated sugar works best, as substitutes tend to liquefy or crystallize differently when exposed to air. - Help! My gummies became sticky anyway. What should I do?
If your kitchen is highly humid, the sugar might start to weep. If this happens, simply rinse the gummies under cold water, pat them dry, let them air-dry on parchment paper again, and toss them in a fresh batch of sour mix with an extra pinch of cornstarch. - How do I make these vegan-friendly?
To make a plant-based version, replace the gelatin with 1 to 1.5 teaspoons of agar-agar powder. Keep in mind that agar-agar must be boiled with the juice for 1-2 minutes to activate. The final texture will be more jelly-like and brittle rather than stretchy and chewy.
More desserts from topmomsideas.com…
Chocolate Apple Pops-Low Calorie Dessert for Kids
The Best Homemade Energy Bars -Healthy Dessert for Family
Homemade Sour Cherry Gummy Candy Recipe
Homemade Sour Cherry Gummy Candy Recipe
Ingredients
Method
- Pour the cold cherry juice into a small, heavy-bottomed saucepan. Evenly sprinkle the gelatin powder over the top of the juice. Give it a gentle stir and let it sit at room temperature for 10 minutes to bloom and absorb the liquid.
- Add the sugar and fresh lemon juice to the saucepan with the bloomed gelatin. Place the pan over the lowest heat possible. Stir continuously with a whisk or silicone spatula to break up any lumps.
- Let the mixture sit on the counter for 2-3 minutes so any surface foam can settle. Using a confectionery dropper (pipette) or a small measuring pitcher, carefully pour the warm cherry liquid into the cavities of your silicone mold. Transfer the mold to the refrigerator for 1.5 to 2 hours until fully set.
- Pop the set cherry gummies out of the silicone mold. Lay them out on a sheet of parchment paper, making sure they do not touch each other. Leave the gummies at room temperature for 3 to 4 hours (or overnight). During this time, excess moisture from the surface evaporates. This makes the candy denser, chewier, and prevents it from absorbing the sugar later.
- In a small, dry bowl, thoroughly mix the fine sugar, citric acid, and cornstarch. The cornstarch acts as a moisture barrier, keeping the sugar crystals from melting upon contact with the gelatin.
- Toss the air-dried gummies into the sour mix in small batches, coating them completely. Transfer the finished candies to a fine-mesh strainer and shake gently to remove any excess powder.